An Easy Guide To Clean Your Shower Head With Vinegar
Although your shower head is only in contact with water or soap, that doesn’t mean you won’t need to clean it. Cleaning your shower head regularly will keep bacteria, soap scum, and mineral buildup at bay, especially if you live in an area with hard water.
Fortunately, this task is not that hard! Just follow this guide to clean your shower head with vinegar.
A step-by-step guide to cleaning your shower head with vinegar
This hassle-free method doesn’t require you to take off the shower head to clean it. Besides, it won’t consume your whole day!
Step #1: Soak in vinegar
Pour white vinegar into a plastic bag and attach it over the shower head. Use a string or rubber bands and ensure the bag covers the whole fixture without spilling or falling off. Then, leave the shower head soaking for several hours. If it’s too dirty, you can leave the bag on overnight.
Note: If your shower head is nickel coated or made from brass or gold, the bag shouldn’t remain on for more than 30 minutes, or you’ll risk damaging the finish of your shower head.
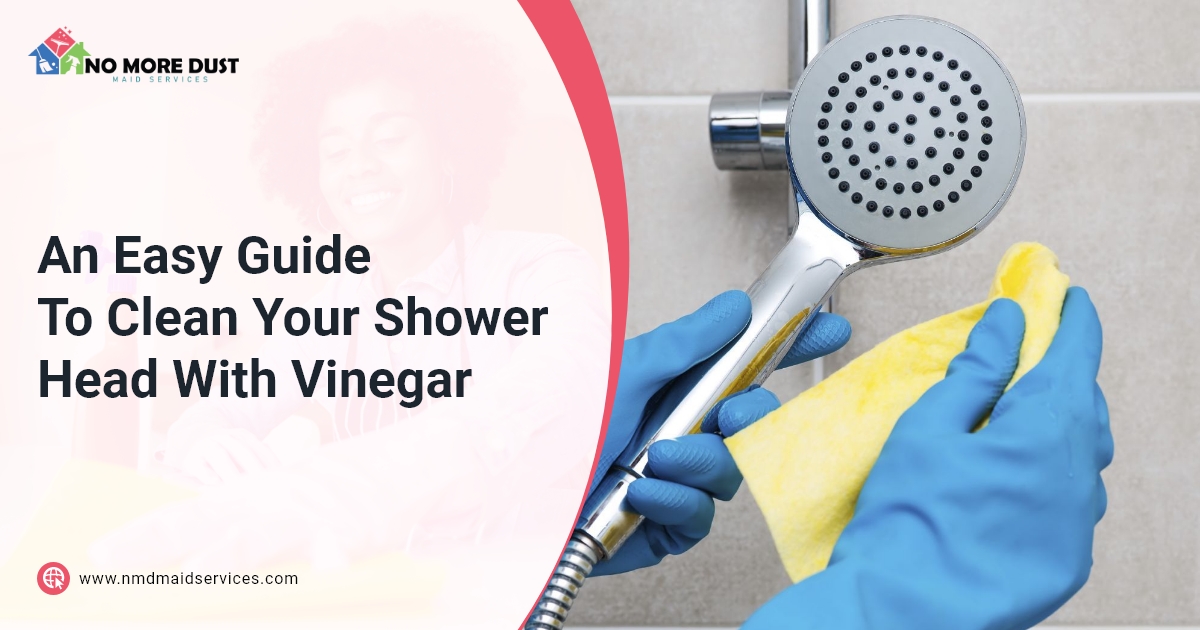
Step #2: Scrub the fixture
After the time’s up, remove the bag and pour the vinegar down the drain. Then, run hot water for a minute to ensure the mineral residue washes away.
Now, it’s time to scrub the shower head. You can use a toothbrush to remove any remaining buildup. Focus on the fixture’s holes to ensure they’re properly clean, and then run the hot water to rinse—repeat this process as needed.
Step #3: Rinse and Polish
Once you’ve finished scrubbing the shower head, give it one more rinse with hot water. Then, dry and buff it with a microfiber cloth to give it a shiny finish. That’s it! Your shower head is now clean.
Not clean enough? Do a more detailed cleaning
Too much mineral buildup or limescale can block the fixture, causing lower water pressure. In this case, your shower head may need a more thorough cleaning. So, follow these steps to get your shower head as good as new.
Step #1: Remove the shower head
You can remove the shower head without damaging it by placing a cloth over the connecting nut and then twisting it with a wrench.
Step #2: Soak in vinegar
Put the shower head in a bucket and pour enough vinegar to cover the fixture. Leave the shower head soaking overnight—if it’s nickel, brass, or gold, leave it only for half an hour.
However, if your shower head is made of metal, you can speed up the process by simmering the fixture in a pot with vinegar for fifteen minutes.
Step #3: Rinse and scrub
When the time’s up, rinse the shower head under a faucet and scrub it with a toothbrush to remove the mineral deposits. You can also use a toothpick or safety pin to poke the fixture’s holes—repeat this step as often as you need to ensure the shower head is perfectly clean.
Step #4: Reattach the shower head
Once you’re satisfied with the cleanliness of your shower head, all that’s left to do is to reattach it. Then, run the hot water for a couple of minutes to eliminate any residue—you can prevent leaks by wrapping plumbing tape around the spot where the shower head attaches to the wall pipe.
Do you have more household chores? Let the pros handle them!
Your shower head is clean now; that’s one thing you can scratch off your list! However, it’s probably not the only thing that needs cleaning around your house.
Keeping an entire home spotless is challenging and time-consuming, so why not let the pros handle it? No More Dust Maid Services can take care of all your cleaning needs, from dusting and sweeping to removing mineral buildup. Check out our services and get a quote now!